Checking tips | ★★✩
In this deck1, you will find more complex learning tips, presented in random order. The advice below is extremely useful for deepening your practice of a piece you have already started, or for assessing the strength of your learning skills, especially a few weeks before an event such as a concert.
- Select a short passage of your piece (2 to 8 measures) and apply the exercise suggested on the card, described below.
- ⚠ If the card doesn’t suit you, move on to another and continue practicing with other exercises in the deck.
______________
1 This deck contains 15 cards and is carefully shuffled each time you consult it.
→ Swipe from one card to another by sliding your finger over the card you see.

-
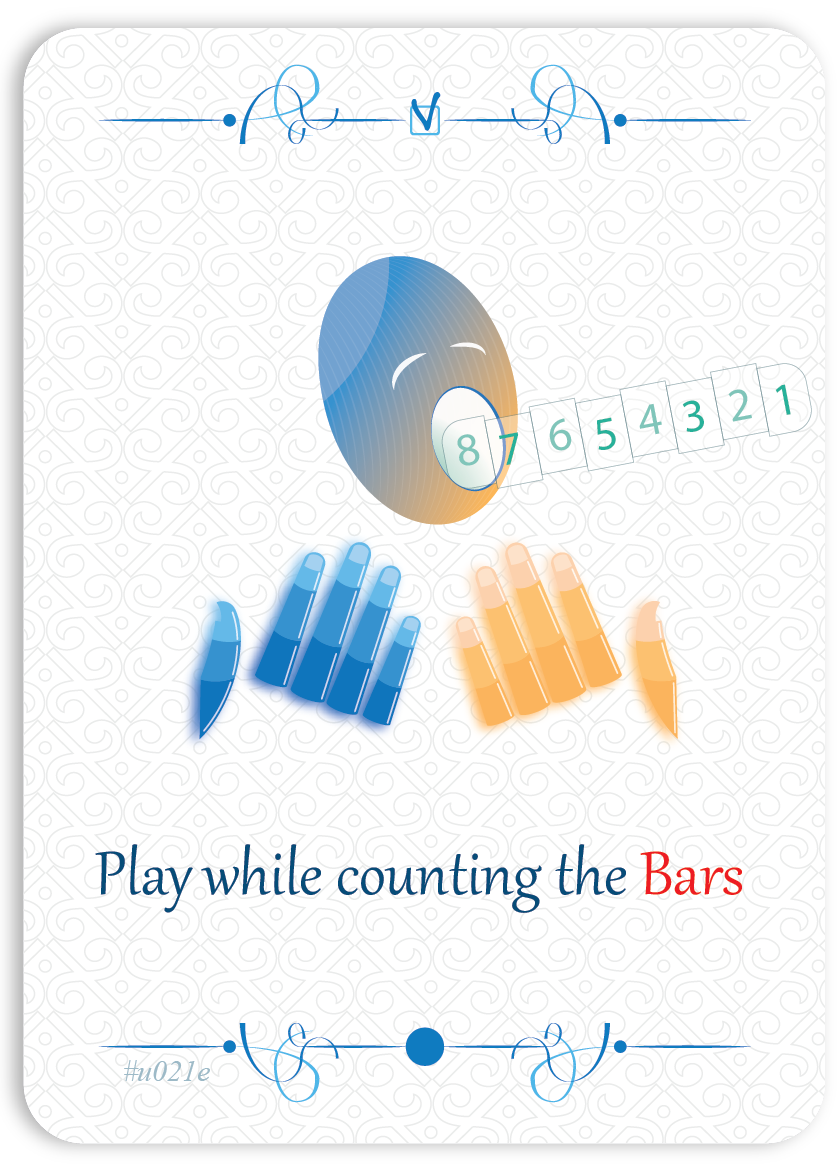
Play while counting the Bars
★★✩→ Do I know how many measures are in each phrase?
To develop a sense of unity within the fragment, write the measure number above each bar, then play both hands together while counting the measure numbers out loud.
Suppose your fragment has 4 measures. In this case, write the measure numbers in reverse order, like this:
“4” for measure 1;
“3” for measure 2;
“2” for measure 3;
“1” for measure 4.This reverse numbering is very useful because it shows how many measures remain before the next fragment.
-
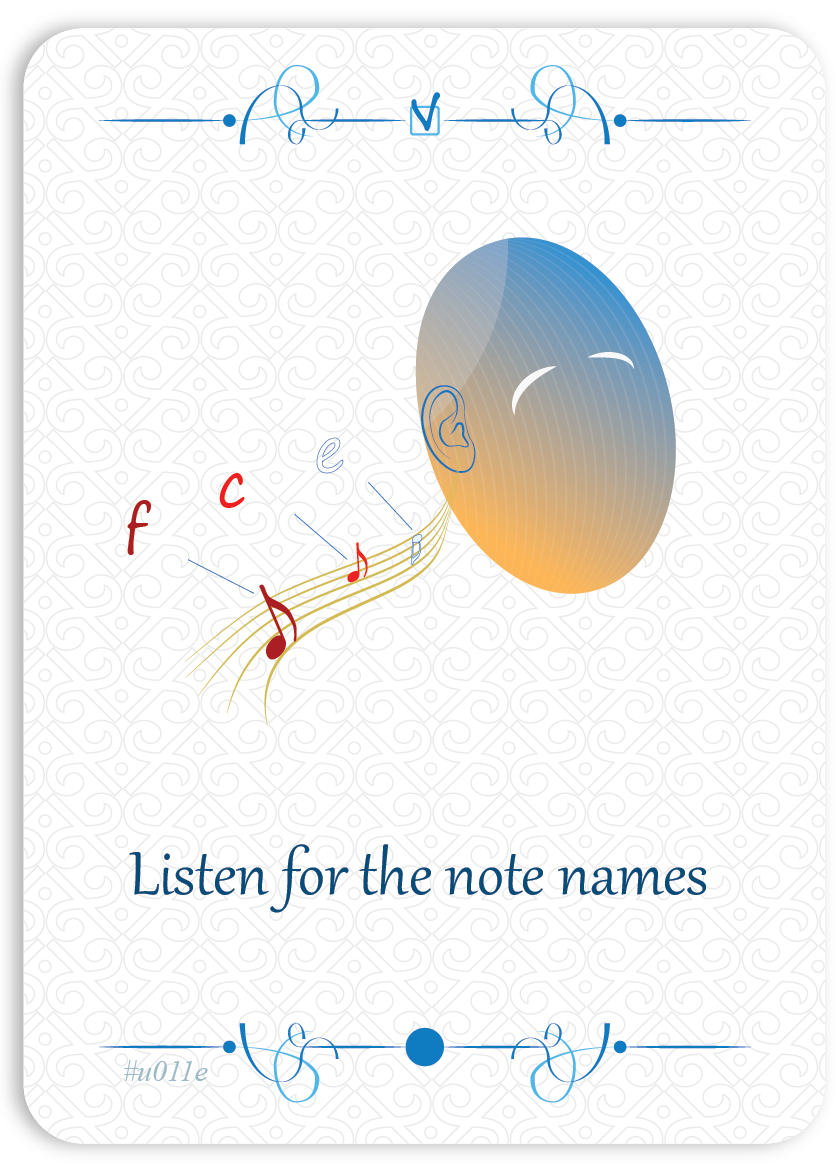
Listen for the note names
★★✩→ Can I hear the note names while playing?
Deepen the accuracy of your listening by following these three steps:
Start by saying aloud the names of the notes in the melody, then in the bass line, while playing both hands together.
First do this while playing, then see if you can do it without playing, focusing solely on singing the note names.
Finally, without saying the note names aloud and while playing only, try to hear how the note names resonate internally.
-
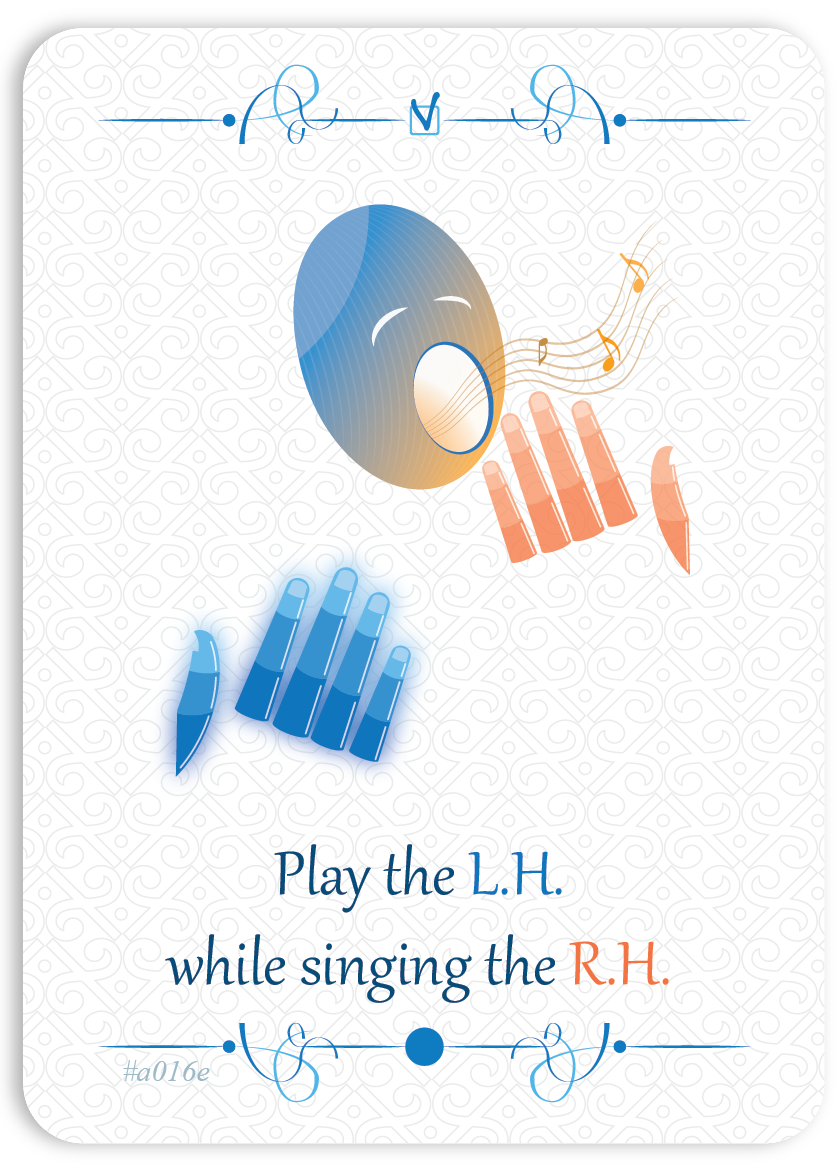
Play the L.H. while singing the R.H.
★★✩→ Is it easy for me to play the left hand while singing the right hand?
Play the left hand alone while singing the right-hand part. If the right hand carries the melody of your piece, it will feel as if you’re accompanying yourself, which can be very satisfying!
This exercise helps develop coordination and the ability to listen to two voices simultaneously. At first, it may feel a bit challenging until you get used to it. However, persevere, because the rewards in fluency and musicality are very gratifying!
-
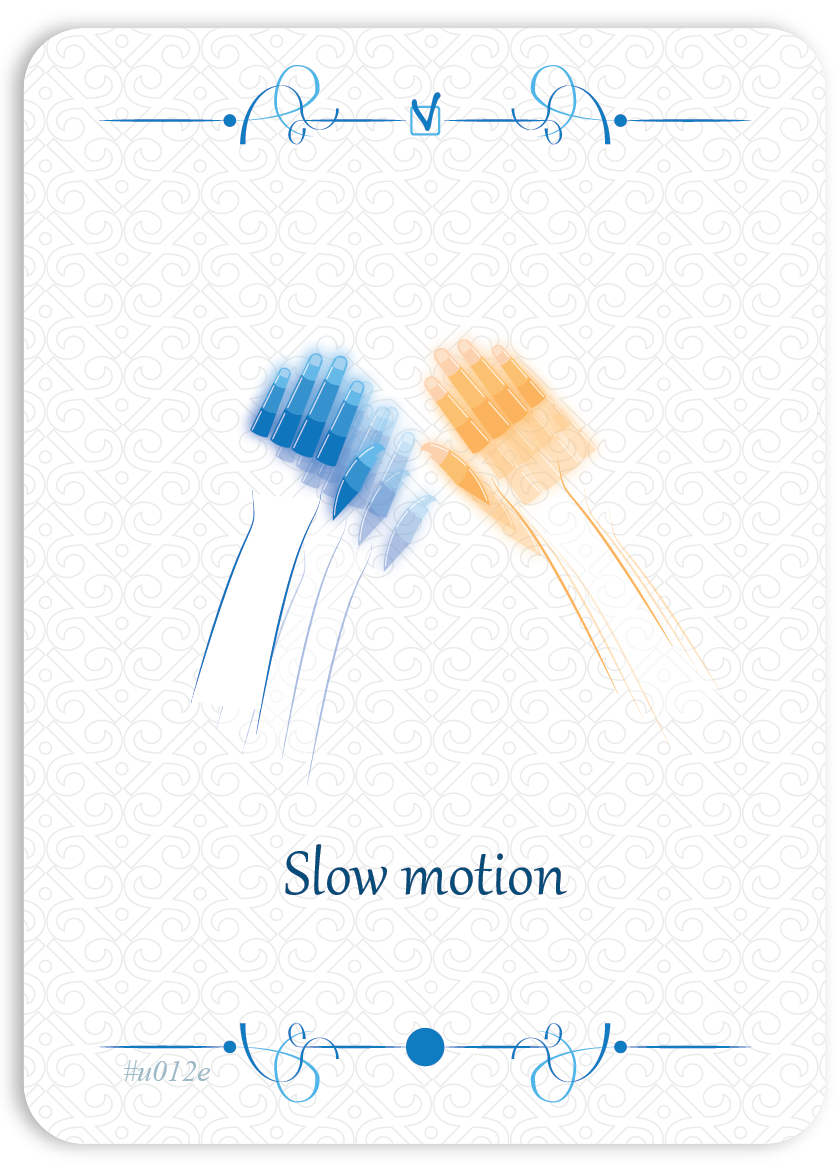
Slow motion
★★✩→ Am I able to play very slowly?
Practice playing your piece—or the passage you are working on—at an extremely slow tempo, while maintaining precise pulse. This exercise will help strengthen your memory.
-
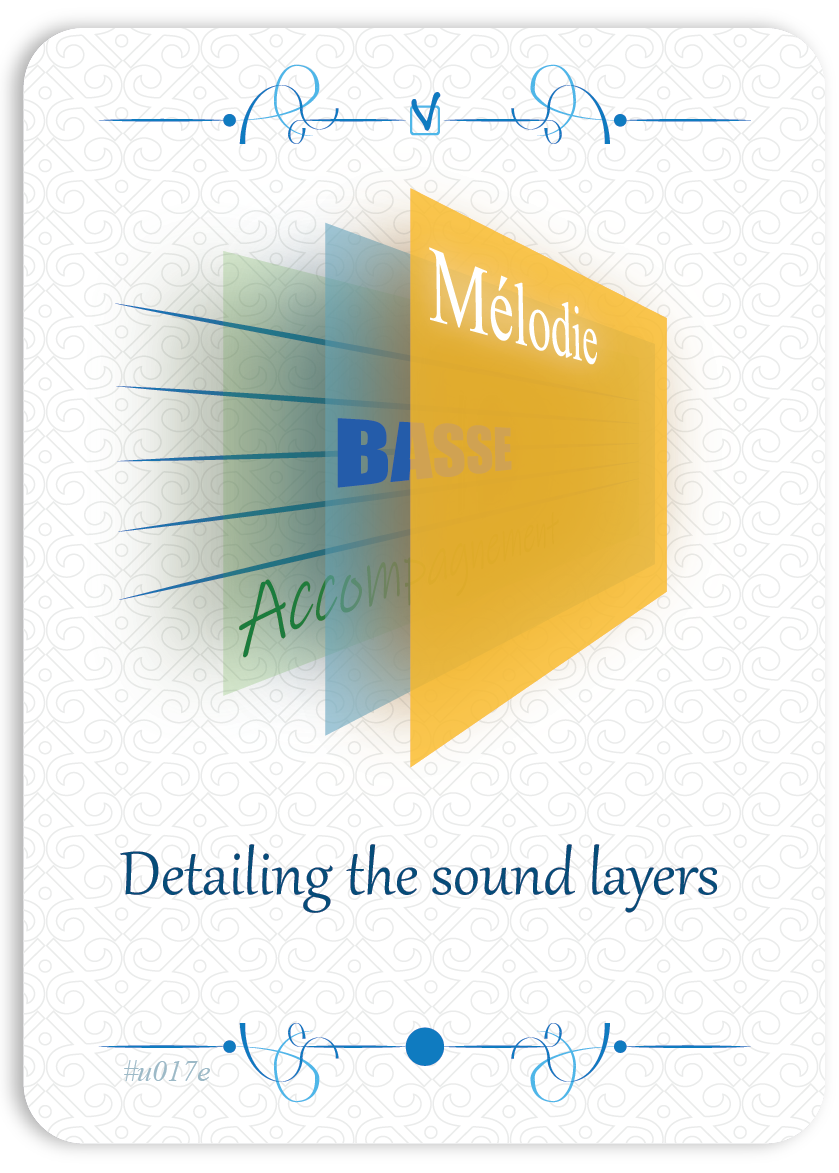
Detailing the sound layers
★★✩→ Have I organized the sound layers effectively?
In most pieces, you can distinguish three layers (or "planes") of sound: the melody, the bass, and the accompaniment. It is important to establish a hierarchy among them. Here are their characteristics:
1. The melody is a musical line with a strong identity, easily recognizable, and often simple to sing and memorize. It usually occupies the higher registers and is generally the top line (except in rare cases where it appears in the middle or lower registers). The melody should be placed in the "foreground" of the musical texture, meaning it should be significantly louder than the other layers.
However, it is essential to pay attention to the hierarchy of notes within this line. Even though it dominates, not all notes should be played with equal emphasis.2. The bass provides the harmonic foundation. It occupies the "second plane" of the sound, being less prominent than the melody but more important than the accompaniment. It is the lowest line.
3. The accompaniment is the least prominent layer, sitting between the extremes.
It functions as a sort of harmonic reverberation, offering support and depth to both the melody and the bass.
It is worth noting that this layer can, of course, be subdivided into several sub-layers, which in our imagination could be played by different orchestral instruments.Example 1:
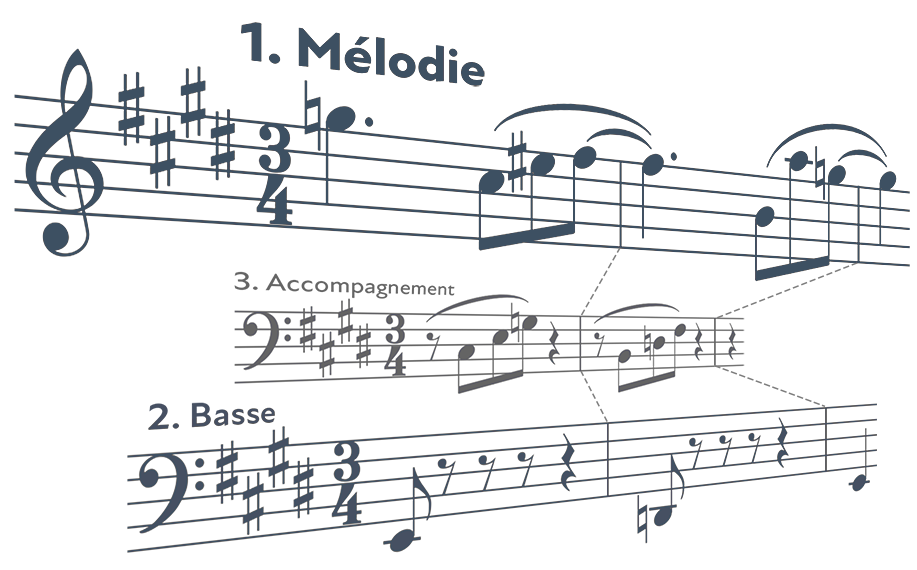
BRAHMS - Intermezzo op.119 no.2
(measures 56–57)______________
1 Here, we can clearly distinguish the three layers. You may have noticed that some notes disappear when making this distinction. These notes would fall into a fourth layer that we chose not to include so as not to complicate the concept of sound layers. -
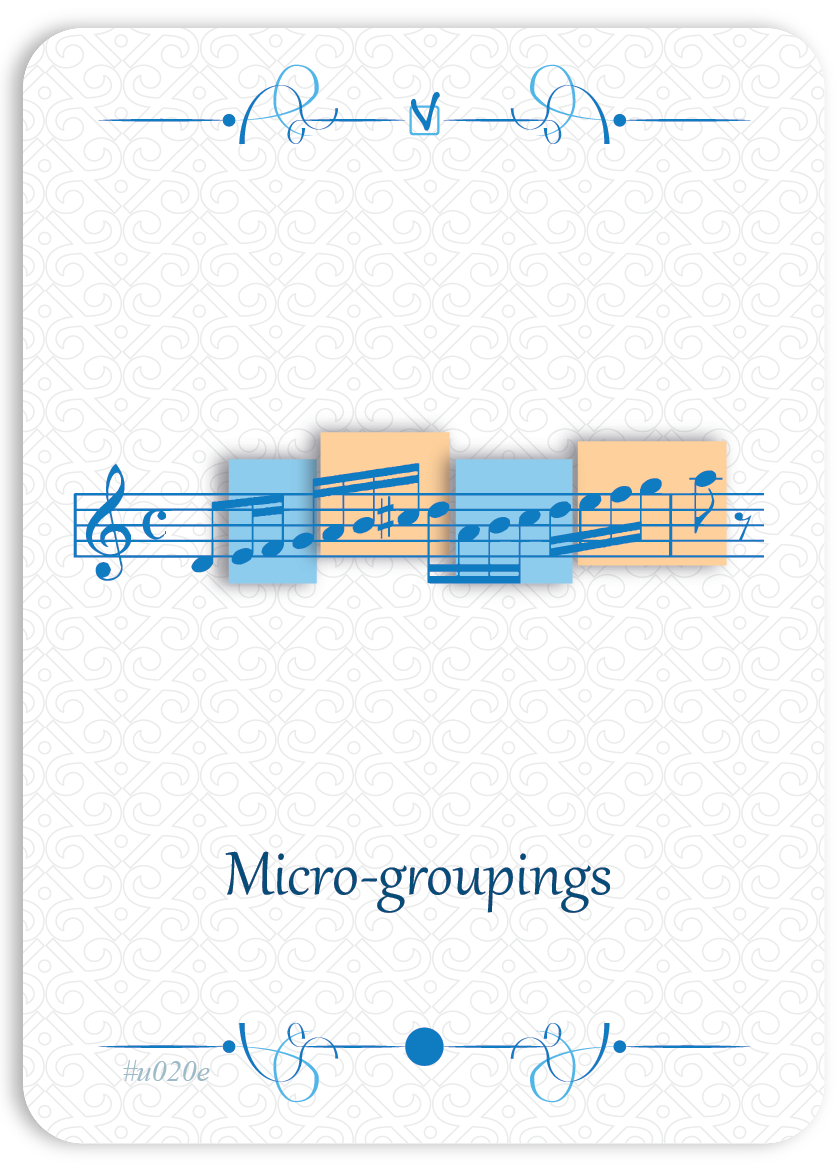
Micro-groupings
★★✩→ Have I broken the passage I’m working on into short motifs?
To chunk – to break into pieces (Eng.)
Just like in spoken language, musical phrasing is organized into sentences, which themselves are made up of words consisting of several syllables. We’ll call these words “chunks.” Within each measure, divide the musical line into small groups of 2, 3, or 4 notes (no more). Play each “chunk,” pausing briefly on the last note of the group.
Then, play through continuously while keeping the separation of groups in your mind—without making it audible, of course. You’ll likely notice that the entire section becomes clearer for you and, by extension, for your listener.
This exercise is especially helpful for clarifying fast passages.
______________
The example shown on the card: MOZART - Piano Sonata No.17 K.545; 1st movement (measure 9) -
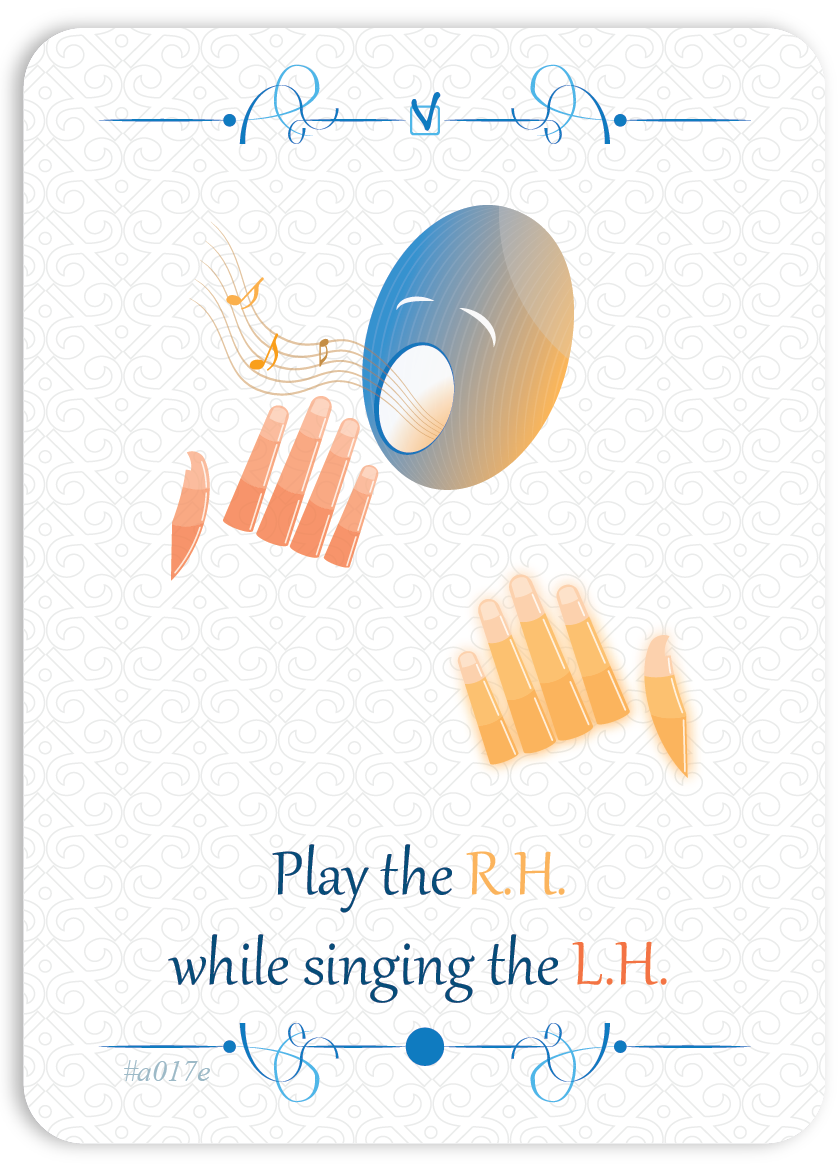
Play the R.H. while singing the L.H.
★★✩→ Is it easy for me to play the right hand while singing the left hand?
Play the right hand alone while singing the left-hand part. If there are double notes, choose a “line” to follow—either the upper voice or the lower voice of the left hand—and then switch. Turn the left-hand part (the bass) into a true melody that interacts with and accompanies the right-hand melody.
-
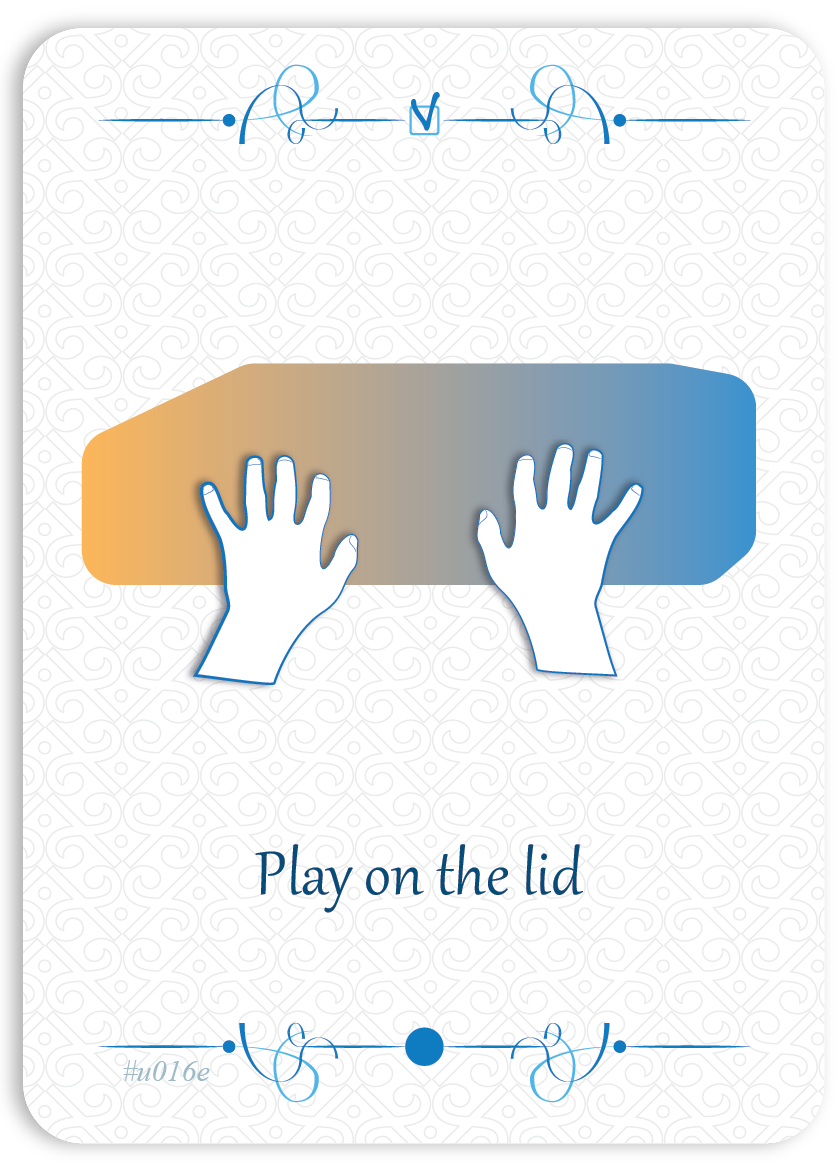
Play on the lid
★★✩→ Is it easy for me to play on the piano lid?
This exercise, when done with focused attention, offers many benefits. It helps you memorize fingerings, become aware of the pads of your fingers, and learn the distances between the keys. It also trains you to imagine the sounds and project yourself into the "sound image" of your piece, creating a kind of "narrative."
For this exercise, play your piece on the piano lid or on a table while singing, and then repeat it without singing.
It’s true that this exercise can be challenging and unsettling. At first, you might forget your fingerings or struggle to "play." Don’t worry—this requires an unusual form of dissociation. If this happens, calmly return to your sheet music and focus on a small section of the passage you are working on. Play it slowly on the piano, then try it again on the lid.
The sections that feel most destabilizing on the lid are often precisely the ones that need the most refinement.
-
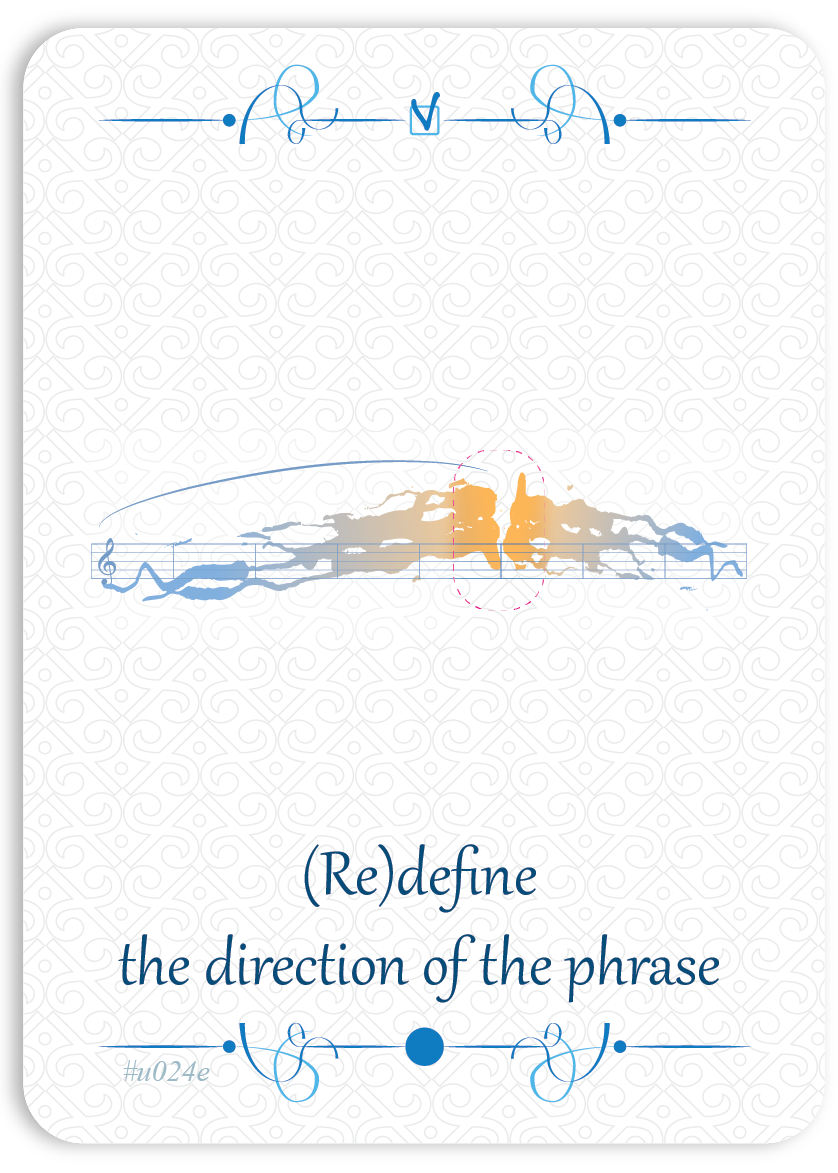
(Re)define the direction of the phrase
★★✩Try to identify the notable musical event in each musical phrase. This could be a dynamic change—such as a forte, a pianissimo, or an accent—or a harmonic color that stands out from the rest. Often, this event is preceded by a “progression”—crescendo, diminuendo, accelerando, ritenuto, etc. Like an important star, this event acts as a kind of “center of gravity” that draws the musical material toward it. It is also commonly referred to as the climax or culminating point.
-
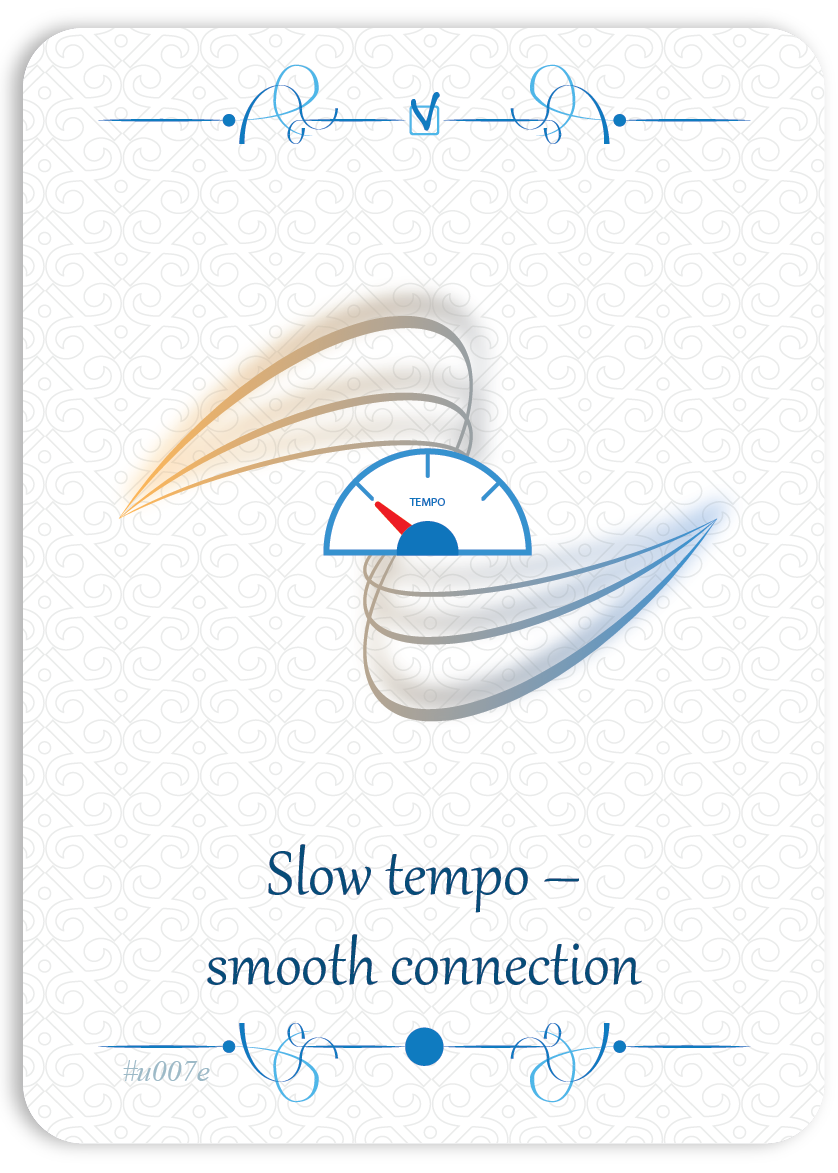
Slow tempo - smooth connection
★★✩→ Am I able to play very slowly?
It is important to repeatedly clarify all aspects of your piece (rhythm, notes, dynamics, gestures, etc.) at a very slow tempo, while ensuring that this approach does not create stress. Working slowly will allow you to assimilate all the gestures calmly, helping to prevent what could be considered mistakes.
Place both feet near the pedals.
Choose a very slow tempo.
Try to connect the notes smoothly with your fingers.
Pay attention to your pulse. If you encounter difficulties, your pulse may fluctuate at first. However, in any situation, it is essential to be aware of perceiving it.
-
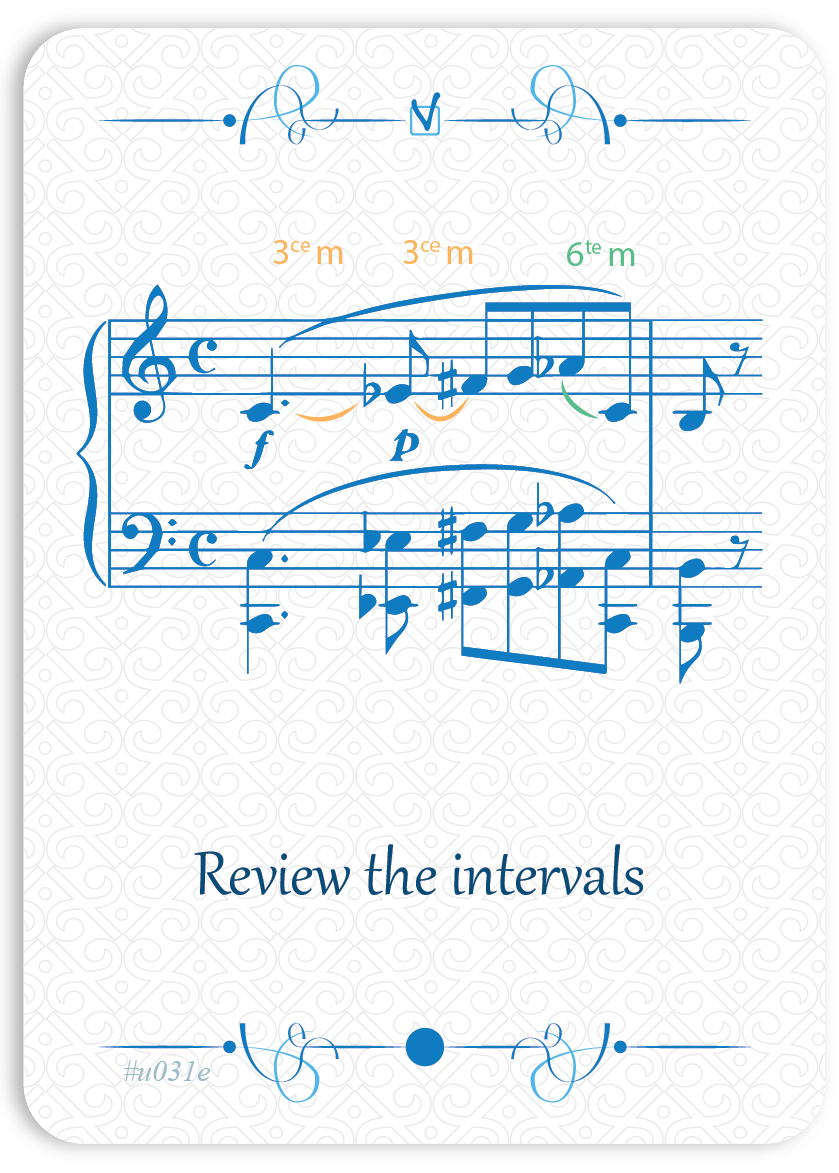
Review the intervals
★★✩→ Am I aware of the intervals in the melodic line?
To achieve greater clarity and expressiveness in a melodic line or motif, it is important to become conscious of the intervals between non-adjacent notes.
- Mark the intervals of the motivic lines on your score.
Example: M3 (major third), P4 (perfect fourth), m6 (minor sixth), etc. - Say the interval names aloud while playing at a moderate tempo.
- Try to identify and internalize an interval by simply listening to it, without needing to name it aloud.
- Mark the intervals of the motivic lines on your score.
Discover the tips :
Simple ★✩✩
Intermediate ★★✩
Advanced ★★★
Super Deck